

-
About Us
-
-
-
Contact Us

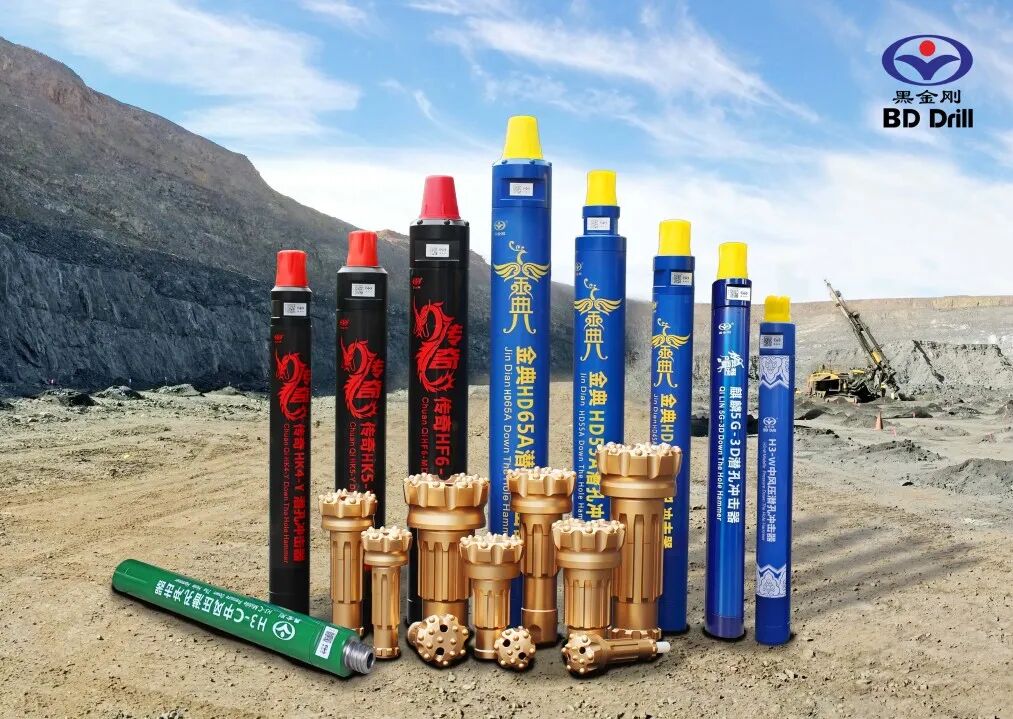
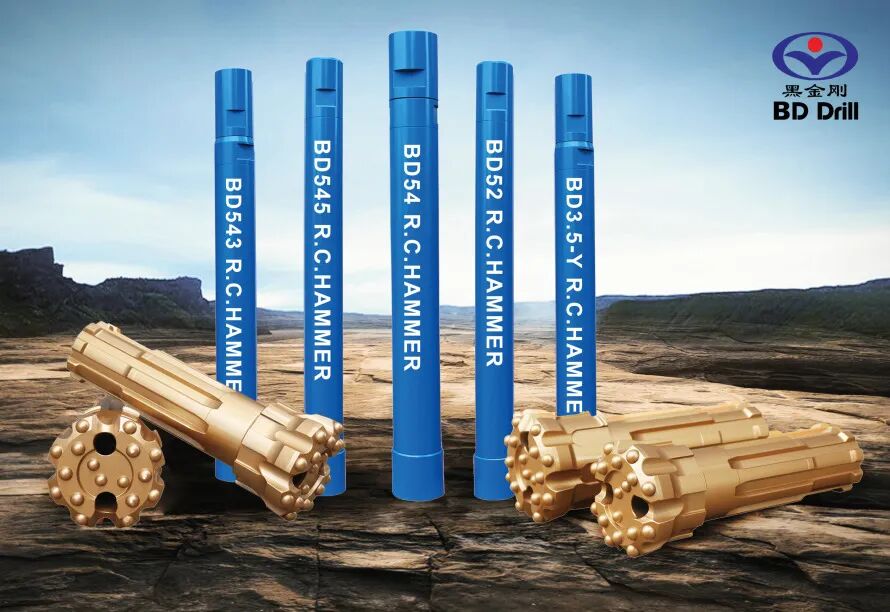
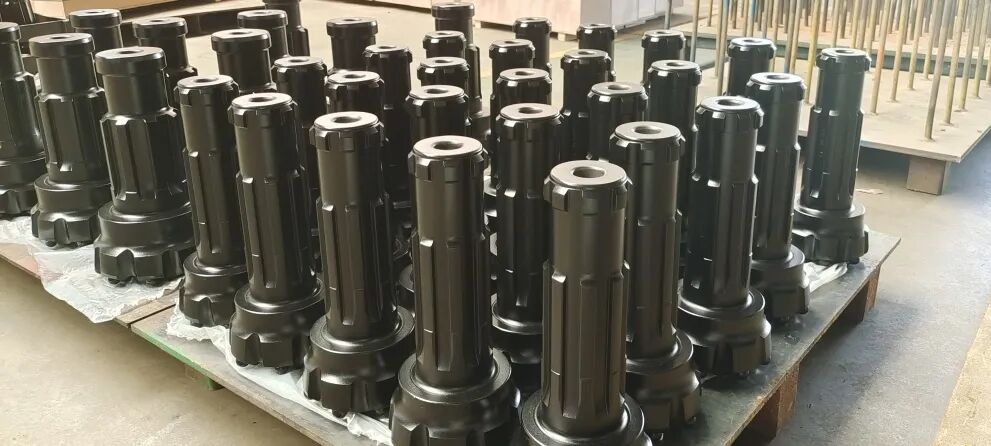
From the manufacturer's perspective: A deep dive into the core maintenance points of down-the-hole drilling tools
Methods for Using and Maintaining Down-the-Hole Drilling Tools
The three major factors that influence drill bit lifespan and drilling efficiency are air pressure, axial force, and drill rod rotation speed.
Wind pressure: The working air pressure for the drilling tool is 0.7–3.0 MPa. The higher the air pressure, the faster the drilling speed. The recommended working air pressure range is 1.2–3.0 MPa.
Axial Pressure: When working, as long as the axial pressure slightly exceeds the recoil force of the impactor, normal operation can be ensured.
Drill pipe rotation speed: Drill string rotation speed is typically recommended to be between 15 and 45 rpm (revolutions per minute); the rotational speed significantly influences both the drilling rate and the lifespan of the drill bit. The faster the rotation, the quicker the rock-breaking speed—but as the diameter of the blast hole increases or when rock hardness rises sharply, it’s necessary to reduce the rotational speed appropriately. Only at an optimal rotation speed can you achieve the best rock-breaking performance with minimal re-breaking.
Before use
1. Check whether the air pressure lines and drill rods are clean, and use high-pressure air to blow them clean.
2. Check whether there is lubricating oil inside the oiler. Operating the impactor without lubrication can damage the piston surface, potentially leading to breakage.
3. Check the impactor for any damage, dents, rust, or foreign objects entering the interior of the impactor.
Using it
1. During drilling or when lifting the drill string, air supply must not be stopped. To prevent getting stuck 。
2. The down-the-hole hammer must be rotated to the right (clockwise)—except for left-hand hammers. Under no circumstances should the drill string be reversed while it is inside the hole, to prevent the drill rods, hammer, and other components from falling into the borehole.
3. The diameter of the new drill bit must not exceed that of the old one being replaced, to prevent the bit from getting stuck.
4. When drilling into an aquifer, the drill bit must not be left at the bottom of the hole if the air supply is turned off. If drilling needs to be paused, lift the drill bit by the length of two drill rods.
5. Since blockages, interlayers, and other issues can lead to stuck drill pipes, regular use of a hammer-type air blower is recommended, along with periodic cleaning of the borehole bottom.
6. Regularly inspect the wear condition of the drill bushing and the outer cylinder of the hammer. The diameter of the drill bushing must never be smaller than that of the outer cylinder. When wear reaches the component’s minimum allowable diameter, replace it promptly as needed.
After use
1. Always keep the drill pipe clean, ensuring that the threaded ends remain free from dirt and debris. When possible, use thread caps to protect them.
2. If the threads are not clean, use a stiff bristle brush or cloth to clean them thoroughly.
3. When the impactor is not in use, keep it clean, add clean, low-viscosity lubricant, apply grease to the threaded areas, and seal both ends of the impactor.
4. Installing and removing the impactor should be done in a clean environment. Never strike it with a large hammer to prevent the outer cylinder from deforming or cracking due to impact. Normally, the connecting threads are right-handed (except for left-hand impactors); therefore, pay close attention to the direction in which the wrench is turned.


Next Page
